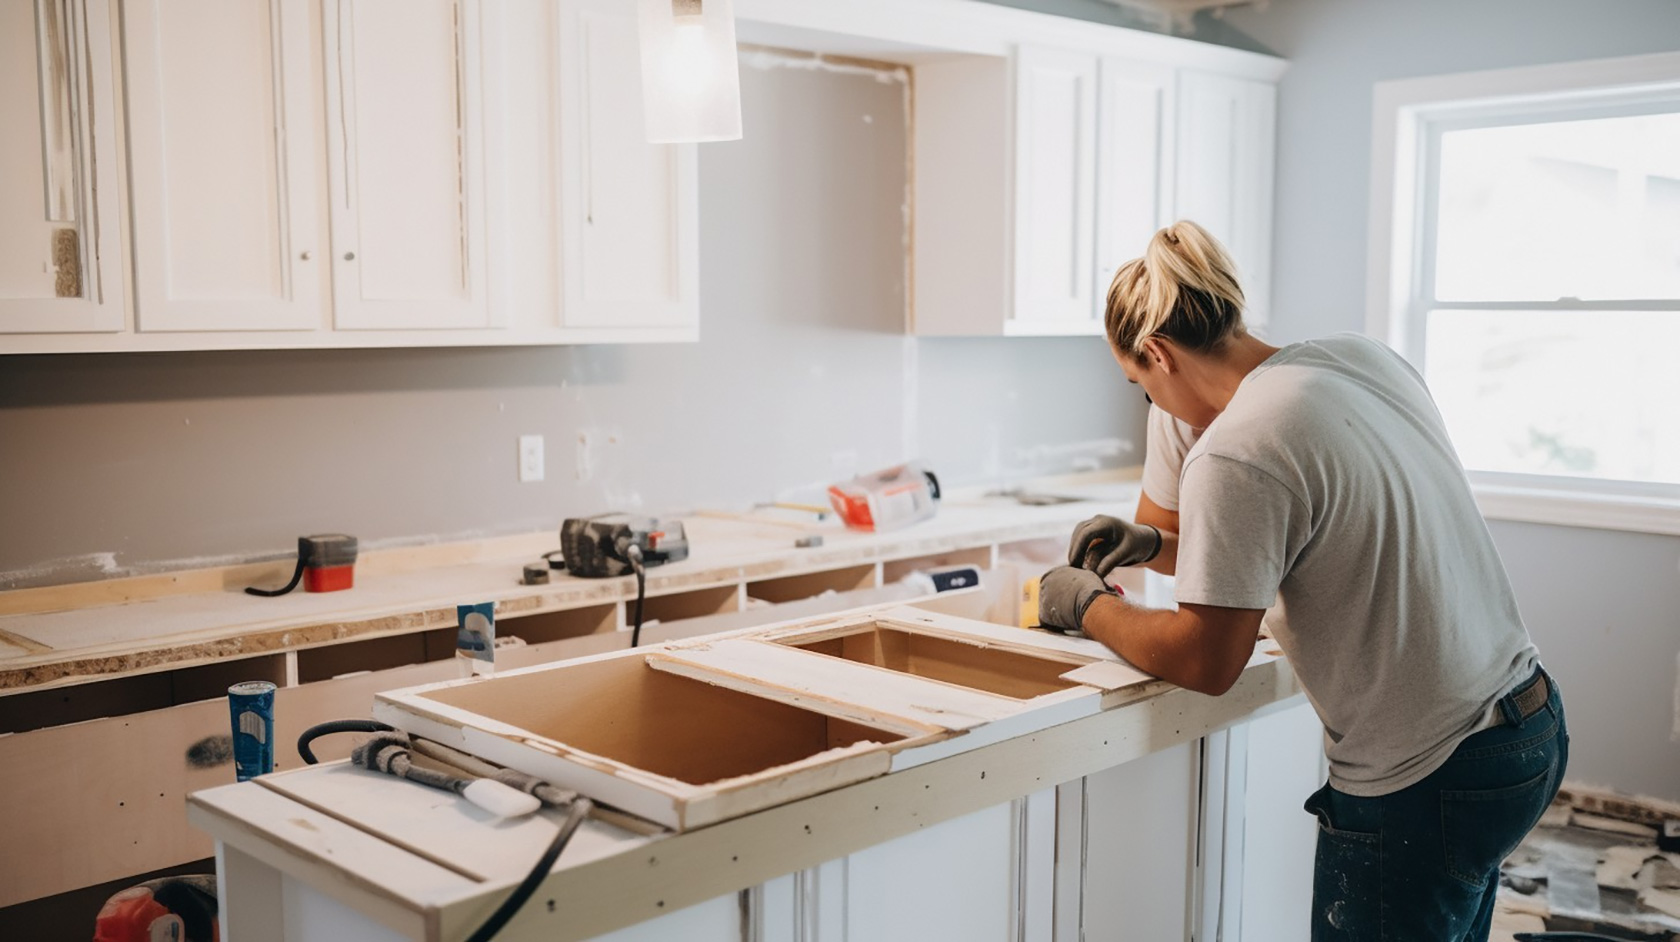
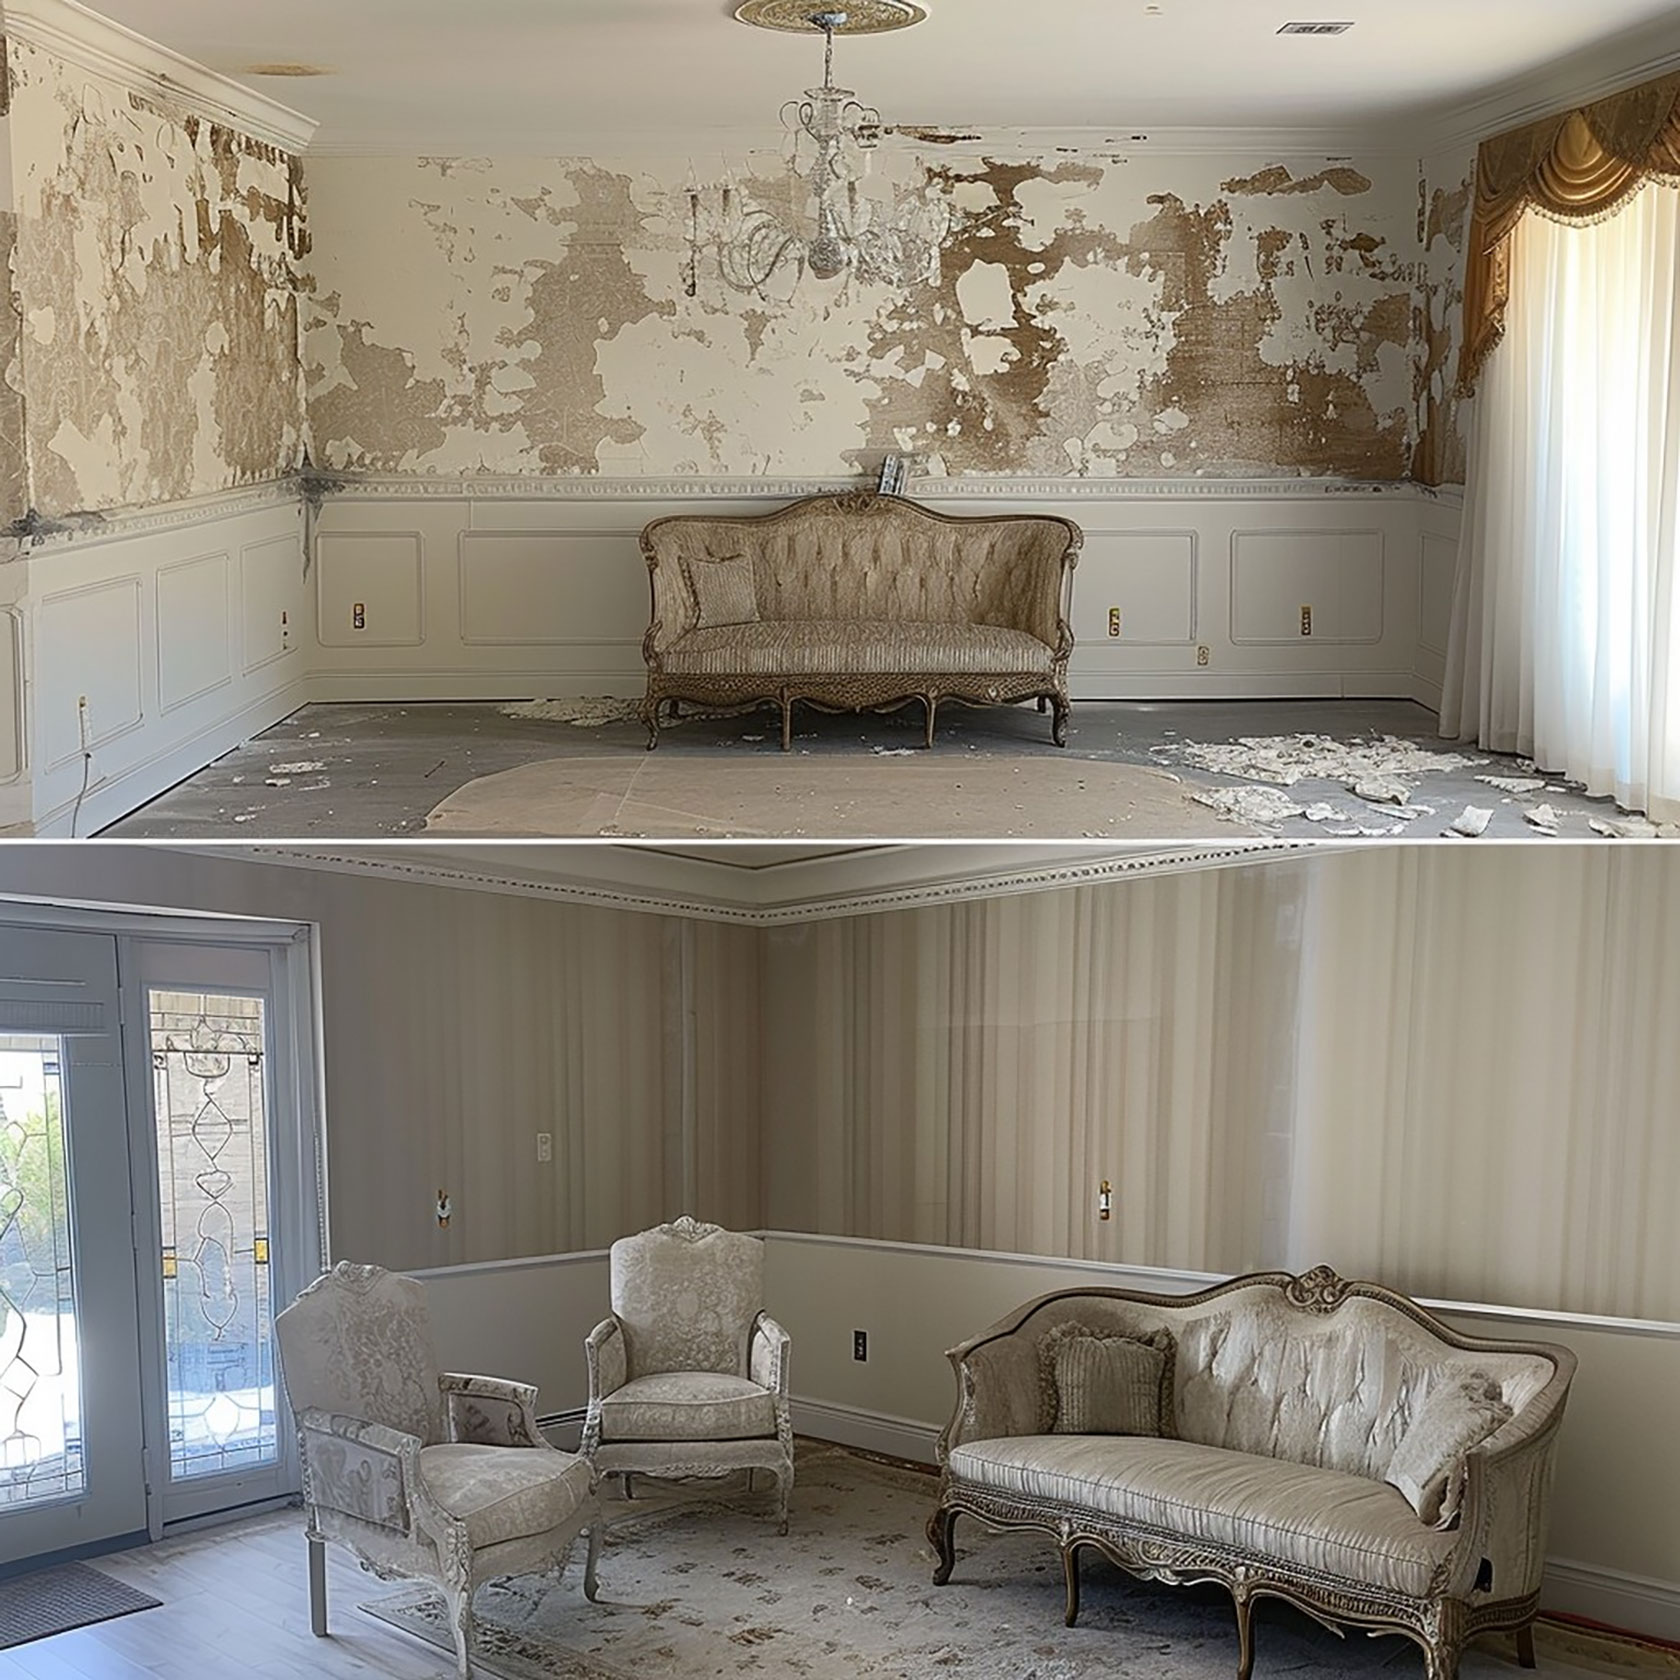
Transform your living space without emptying your wallet! This comprehensive guide walks you through budget-friendly home improvement projects that deliver maximum impact with minimal investment. From quick weekend updates to full-room transformations, we’ll show you how to achieve professional results on a DIY budget.
Did you know that the average home renovation costs over $15,000? That’s enough to make anyone’s wallet nervous! But here’s the exciting news – after helping hundreds of homeowners transform their spaces, I can confidently say that you don’t need to spend anywhere near that amount to create stunning results. Some of the most impressive makeovers I’ve overseen cost less than $1,000 per room!
As a home improvement expert with over a decade of experience, I’ve seen the incredible transformations possible with creativity, careful planning, and smart material choices. In 2023 alone, my team and I completed over 200 budget-friendly makeovers, like DIY Solar Lanterns, string lights, and more I’m excited to share everything we’ve learned with you.
Understanding The Psychology Of Home Makeovers
Why We Crave Change
Before going into the practical aspects, it’s important to understand why home makeovers matter. Our living spaces directly impact our mental well-being, productivity, and overall satisfaction. A study by the National Association of Realtors found that 85% of homeowners spend more time in their homes after a renovation project, showing just how impactful these changes can be.
Setting Realistic Goals
The key to successful budget renovations lies in understanding what’s possible within your constraints. Let’s break down what you can achieve at different budget levels:
| Budget Level | Possible Projects | Timeline | Impact Level |
| Under $200 | Paint, Hardware Updates, Decor | 1-2 weekends | Medium |
| $200-500 | Room Refresh, Simple DIY | 2-3 weekends | High |
| $500-1000 | Major Room Updates | 3-4 weekends | Very High |
| $1000-2000 | Full Room Transformation | 4-6 weekends | Complete |
Planning Your Budget-Friendly Home Makeover
Comprehensive Assessment Process
Start with a thorough evaluation of your space:
Room Analysis
- Document current pain points
- Measure all spaces accurately
- Photograph areas from multiple angles
- Note lighting conditions
- Identify structural limitations
Priority MatrixCreate a project priority matrix:
| Urgency | Impact | Cost | Priority Score |
| High (3) | High (3) | Low (3) | 9 |
| Medium (2) | Medium (2) | Medium (2) | 4 |
| Low (1) | Low (1) | High (1) | 1 |
Essential Tools and Materials Checklist
Basic Tool Kit (Investment: $100-150)
- Quality paintbrushes ($20-30)
- Roller set with extensions ($25-35)
- Basic hand tools ($30-40)
- Measuring and marking tools ($15-20)
- Safety equipment ($10-15)
Advanced Tools (Optional Investment: $200-300)
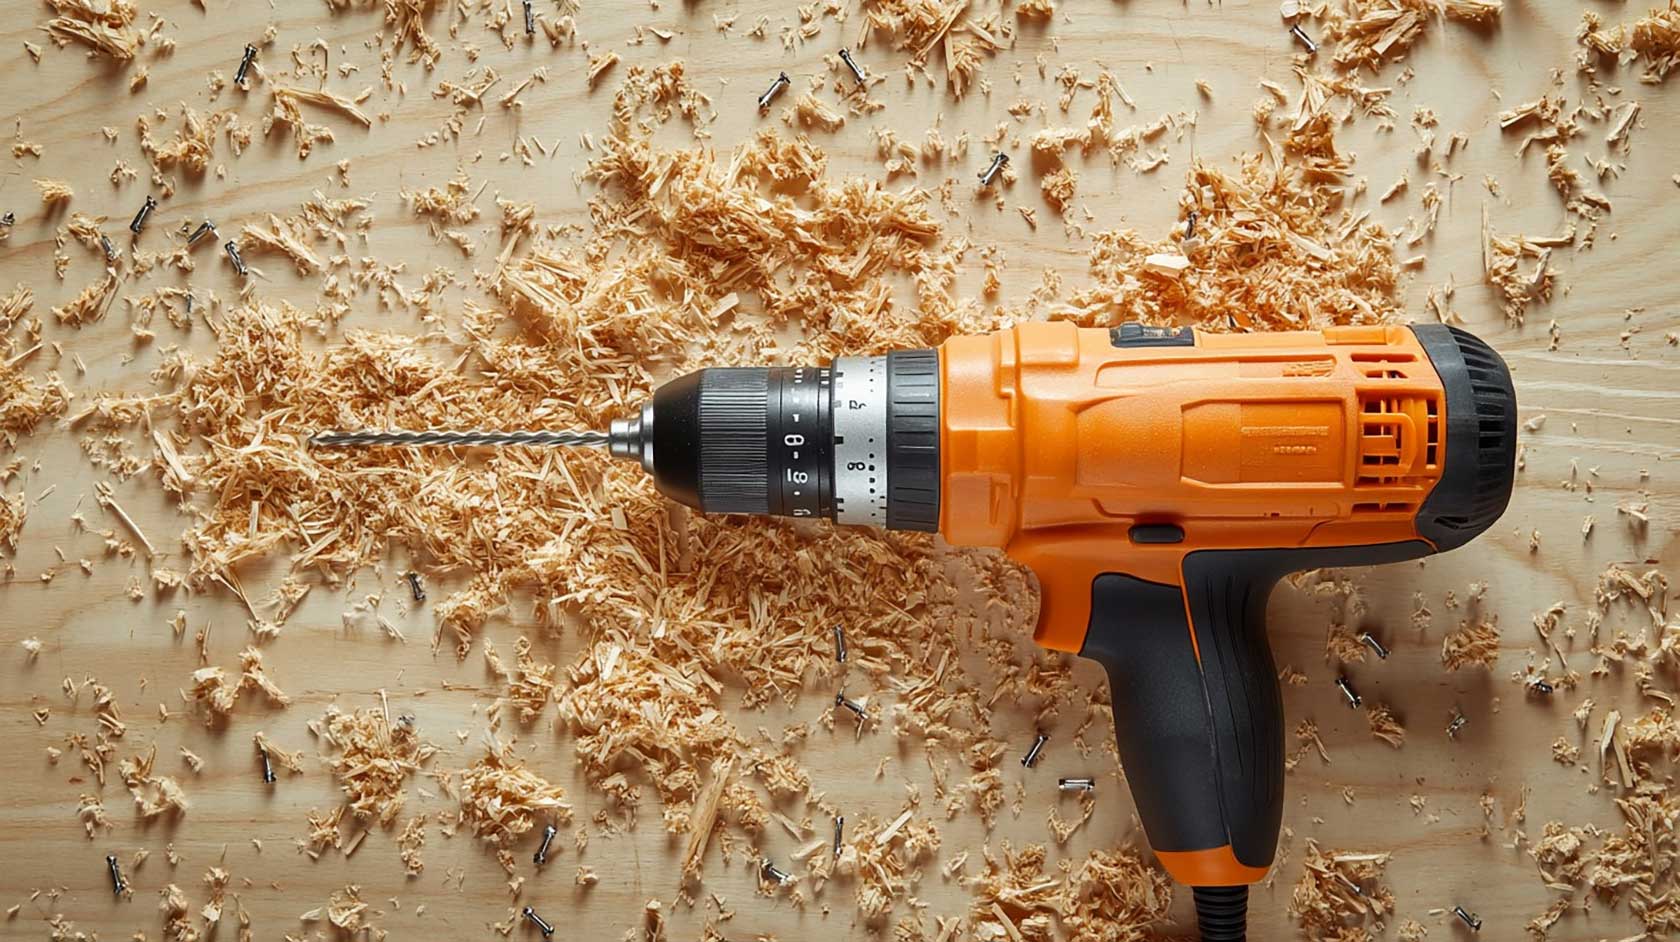
- Power drill with bits ($80-100)
- Orbital sander ($50-70)
- Miter saw ($100-150)
- Paint sprayer ($70-100)
Quick-Win Projects Under $100
Paint Transformation Techniques
Wall Preparation Steps
- Clean walls thoroughly with TSP substitute
- Repair holes and imperfections
- Sand smooth
- Apply primer where needed
- Use proper painting technique
Professional Painting Tips
- Cut in one wall at a time
- Use the W-pattern when rolling
- Maintain wet edge
- Apply thin coats
- Allow proper drying time
Creative Hardware Updates
Cabinet Hardware Selection Guide
| Style | Cost Range | Best For | Durability |
| Modern | $2-5/piece | Contemporary | High |
| Vintage | $3-8/piece | Traditional | Medium |
| Mixed Metal | $4-10/piece | Eclectic | High |
| Glass | $5-12/piece | Glamorous | Medium |
Weekend Paint Transformations
Paint remains the most cost-effective way to transform any space. A fresh coat of paint can completely change the feel of a room for under $50. Pro tip: Don’t skimp on prep work! Proper preparation ensures professional-looking results.
Hardware Updates That Pack A Punch
Updating cabinet hardware, doorknobs, and light switch plates can modernize your space instantly. Look for bulk packs of hardware on Amazon or at your local home improvement store for better deals.
Creative Wall Art Solutions
Try these budget-friendly wall art ideas:
- Frame vintage maps or botanical prints
- Create a gallery wall using thrifted frames
- Make abstract art using painter’s tape and canvas
- Display collections in shadow boxes
Kitchen Transformations On A Budget
Cabinet Makeover Master Plan
Materials Needed
- Cleaning supplies ($15-20)
- Sandpaper variety pack ($10)
- Premium primer ($25-30)
- Cabinet paint ($40-50)
- New hardware ($50-100)
- Protective topcoat ($20)
Step-by-Step Process
Preparation Phase
- Remove doors and hardware
- Label all pieces
- Clean thoroughly
- Sand surfaces
- Vacuum and tack cloth
Priming Phase
- Apply bonding primer
- Light sand between coats
- Allow proper drying time
Painting Phase
- Use foam rollers for a smooth finish
- Apply thin coats
- Sand lightly between coats
- Consider sprayer for larger projects
Cabinet Makeover Magic
Transform your kitchen cabinets with these steps:
- Clean thoroughly with TSP substitute
- Sand lightly
- Prime with high-quality bonding primer
- Paint with cabinet-grade paint
- Seal for durability
Affordable Backsplash Ideas
– Peel-and-stick tiles ($30-100)
– Paint-on stencil patterns ($20-40)
– Removable wallpaper ($50-150)
– Smart Tiles ($100-300)
Countertop Alternatives
Consider these budget-friendly options:
– Concrete overlay
– Butcher block
– Contact paper (temporary solution)
– Tile over existing countertop
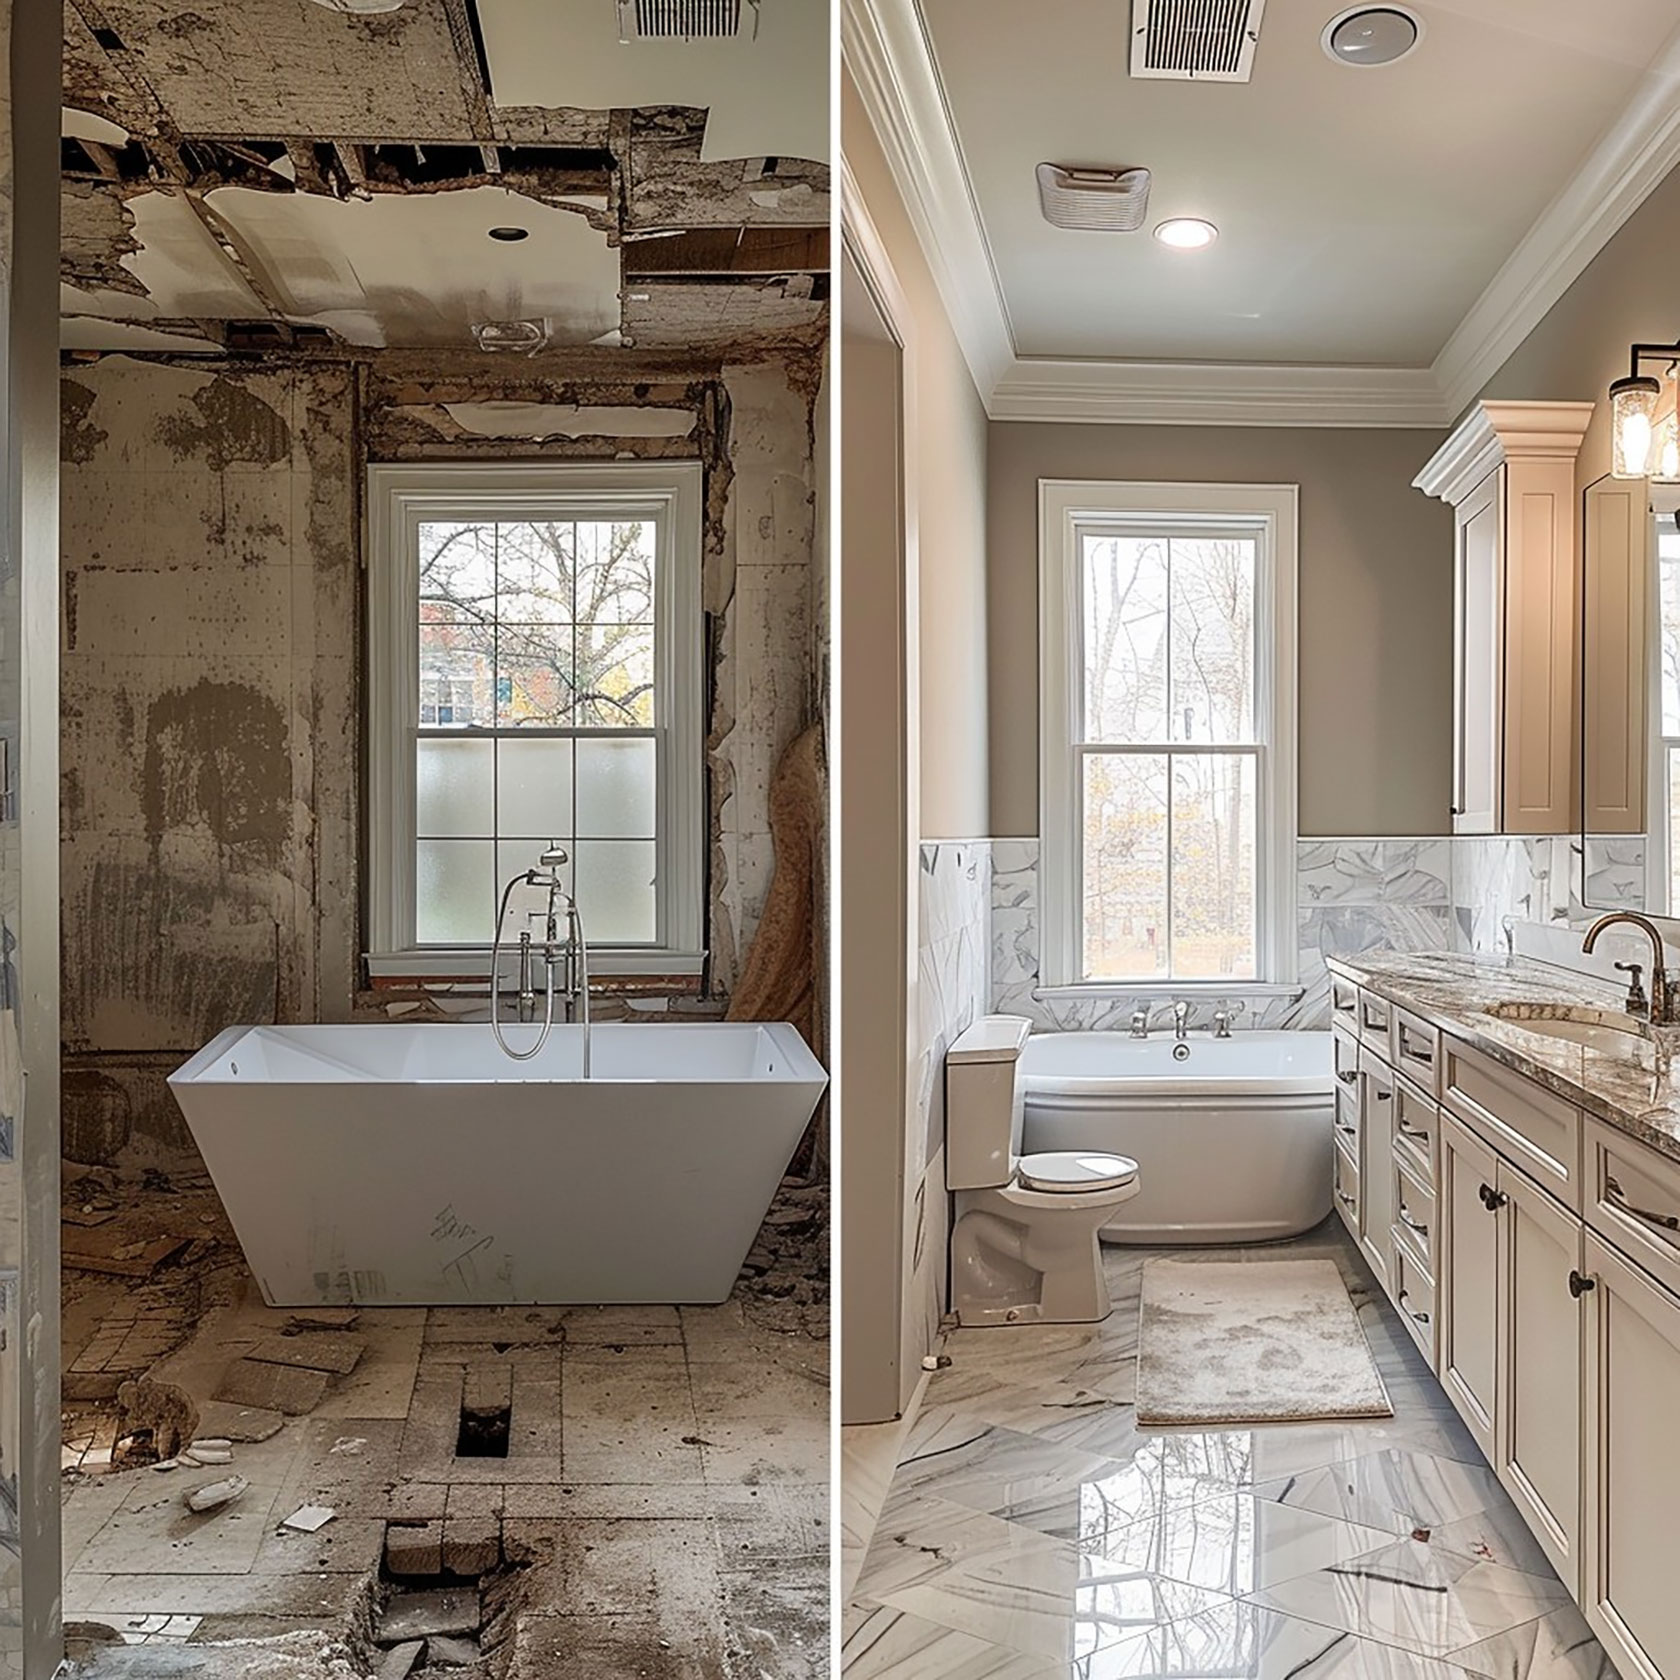
Bathroom Makeovers That Won’t Break The Bank
Quick Refresh Techniques
Start with these high-impact updates:
– Re-caulk tub and sink
– Update shower curtain and hardware
– Paint vanity and walls
– Replace toilet seat and hardware
Storage Solutions
Maximize your bathroom space with:
– Over-toilet storage units
– Door-mounted organizers
– Floating shelves
– Under-sink organization systems
Living Room And Bedroom Updates
Furniture Upcycling Projects
Give old furniture new life:
– Reupholster dining chairs
– Paint wooden furniture
– Add new hardware to dressers
– Refinish table tops
Statement Walls On A Budget
Create impact with:
– Board and batten
– Painted geometric patterns
– Wallpaper accent walls
– Picture frame molding
Basic Power Tool Projects: A Complete Guide
Essential Power Tools And Safety Equipment
Required Tools
| Tool | Estimated Cost | Primary Use | Skill Level |
| Miter Saw | $150-300 | Angle Cuts | Intermediate |
| Power Drill | $80-150 | Mounting/Assembly | Beginner |
| Level | $25-50 | Alignment | Beginner |
| Stud Finder | $20-40 | Wall Mounting | Beginner |
| Tape Measure | $10-20 | Measurements | Beginner |
Safety Equipment
- Safety glasses ($10-15)
- Ear protection ($15-25)
- Dust mask ($10-20)
- Work gloves ($15-25)
- Knee pads ($20-30)
Installing Crown Molding
Measuring Techniques
Room Measurement
- Measure each wall length twice
- Add 10% for waste and mistakes
- Account for inside and outside corners
- Create a detailed cutting diagram
Pro Tips For Accurate Measurements
- Use a digital angle finder for corners
- Mark ceiling and wall contact points
- Account for uneven ceiling heights
- Document measurements with sketches
Cutting Perfect Angles
Inside Corner Cuts
- Position molding upside down in the miter saw
- Set saw to 45 degrees
- Cut left piece with saw tilted right
- Cut the right piece with the saw tilted left
Outside Corner Cuts
- Keep molding orientation consistent
- Mark clear reference lines
- Cut left piece with saw tilted left
- Cut the right piece with the saw tilted right
| Corner Type | Left Piece | Right Piece | Common Issues |
| Inside | 45° Right | 45° Left | Gap at wall |
| Outside | 45° Left | 45° Right | Uneven angles |
| Scarf Joint | 45° Same | 45° Same | Poor alignment |
Installation Tips
Preparation
Wall Marking
- Locate and mark all studs
- Draw level reference lines
- Mark electrical locations
- Pre-paint molding if desired
Material Preparation
- Allow molding to acclimate (48 hours)
- Pre-drill nail holes
- Sort pieces by the wall
- Label all cuts
Installation Steps
- Begin at an inside corner
- Apply construction adhesive
- Nail at studs (every 16″)
- Use 2.5″ finish nails
- Fill nail holes
- Caulk gaps and seams
Troubleshooting Common Issues
| Problem | Cause | Solution |
| Gaps at Corners | Uneven Walls | Use Caulk/Shims |
| Splitting Wood | Too Few Nails | Pre-drill Holes |
| Uneven Surface | Wall Variations | Sand/Fill Gaps |
Building Floating Shelves
Material Selection
Wood Options
| Type | Cost/Ft | Pros | Cons |
| Pine | $3-5 | Affordable, Light | Soft, Dents Easily |
| Oak | $8-12 | Durable, Strong | Heavy, Expensive |
| Maple | $6-10 | Hard, Smooth | Difficult to Stain |
| Walnut | $12-15 | Beautiful Grain | Very Expensive |
Hardware Requirements
Bracket System
- Heavy-duty floating shelf brackets
- Toggle bolts for drywall
- Lag screws for studs
- Load rating considerations
Additional Materials
- Wood glue
- Wood screws
- Sandpaper (80, 120, 220 grit)
- Wood finish or paint
Hidden Bracket System
Installation Process
Bracket Mounting
- Locate studs
- Mark level lines
- Install brackets
- Test for stability
Load Calculations
| Shelf Length | Max Load (Studs) | Max Load (Drywall) |
| 24″ | 75 lbs | 30 lbs |
| 36″ | 60 lbs | 25 lbs |
| 48″ | 45 lbs | 20 lbs |
Shelf Construction
Box Construction
- Cut top and bottom panels
- Cut side panels
- Create front face
- Build internal support
Assembly Steps
- Glue and clamp edges
- Add reinforcement blocks
- Install bracket slots
- Sand all surfaces
Finishing Touches
Surface Preparation
- Sand progressively (80 → 120 → 220 grit)
- Remove all dust
- Apply wood conditioner if staining
- Fill any gaps or imperfections
Finishing Options
| Finish Type | Durability | Ease Of Application | Cost |
| Polyurethane | High | Medium | $20-30 |
| Danish Oil | Medium | Easy | $15-25 |
| Paint | High | Easy | $25-35 |
| Wax | Low | Very Easy | $10-20 |
Final Installation Tips
Pre-Installation Check
- Test fit shelf
- Verify level
- Check all clearances
- Confirm weight capacity
Final Steps
- Slide shelf onto brackets
- Secure hidden fasteners
- Touch up any marks
- Apply silicone bumpers
Maintenance And Care
- Regular dusting
- Check bracket tightness monthly
- Avoid exceeding weight limits
- Touch up finish as needed
Pro Tips For Success
- Always measure twice, and cut once
- Use sharp saw blades
- Keep spare materials for repairs
- Document your process
- Test loads before adding items
Safety Reminders
- Always wear eye protection
- Use dust collection systems
- Keep the work area clean
- Maintain proper ventilation
- Follow tool manufacturer guidelines
Money-Saving Design Tips And Tricks
Color Theory In Practice
Color Scheme Development
| Scheme Type | Best For | Examples | Impact Level |
| Monochromatic | Small spaces | Grey palette | Subtle |
| Complementary | Bold looks | Blue & Orange | Dynamic |
| Analogous | Calm spaces | Green & Blue | Harmonious |
| Triadic | Playful rooms | Yellow, Blue, Red | Energetic |
Color Theory Basics
Understanding color can help you create cohesive spaces:
– Use the 60-30-10 rule
– Choose complementary colors
– Consider light reflection values
– Test samples before committing
Thrifting Strategy Guide
– Shop early mornings
– Visit wealthy neighborhoods
– Check frequently
– Don’t be afraid to negotiate
– Look for solid wood pieces
Common Mistakes To Avoid
DIY Danger Zones
Know when to call a professional:
– Electrical work
– Plumbing changes
– Structural modifications
– HVAC alterations
Frequently Asked Questions
Q: How long does a DIY room makeover typically take?
A: A basic room makeover can take 2-3 weekends, depending on the scope. Paint needs proper drying time, and some projects require multiple steps.
Q: What’s the best first project for beginners?
A: Start with painting a single room. It’s relatively low-risk and teaches valuable DIY skills like preparation and attention to detail.
Q: How can I save money on materials?
A: Look for remnants, shop during sales, use store coupons, check Habitat Restore, and consider scratch-and-dent items for significant savings.
Q: Should I tackle one room at a time or do multiple rooms?
A: Focus on one room at a time to avoid feeling overwhelmed and to maintain livable spaces during your makeover.
Q: How do I ensure my DIY projects look professional?
A: Take time with preparation, invest in quality tools, watch tutorial videos, and practice techniques before tackling visible areas.
Conclusion
Your home transformation journey doesn’t require a massive budget – it requires creativity, planning, and patience. Start with small projects, build your confidence, and watch your space transform into something amazing. Remember, even small changes can make a significant impact when done thoughtfully.
Final Cost-Saving Summary
| Project Category | Traditional Cost | DIY Cost | Potential Savings | Time Investment |
| Kitchen Refresh | $5,000-8,000 | $500-1,000 | Up to 87% | 3-4 weekends |
| Bathroom Update | $3,000-5,000 | $400-800 | Up to 84% | 2-3 weekends |
| Living Room Makeover | $2,000-4,000 | $300-700 | Up to 82% | 2-3 weekends |
| Bedroom Transform | $1,500-3,000 | $250-500 | Up to 83% | 1-2 weekends |
| Entryway Update | $1,000-2,000 | $150-300 | Up to 85% | 1 weekend |
Pro Tips For Long-Term Success
- Always buy 10% more materials than calculated
- Keep all receipts for returns and warranty
- Document your process with photos
- Join DIY communities for support
- Create a maintenance schedule
Remember: The most successful budget makeovers focus on high-impact changes that don’t require specialized skills. With proper planning and execution, you can achieve professional-looking results at a fraction of the cost.


