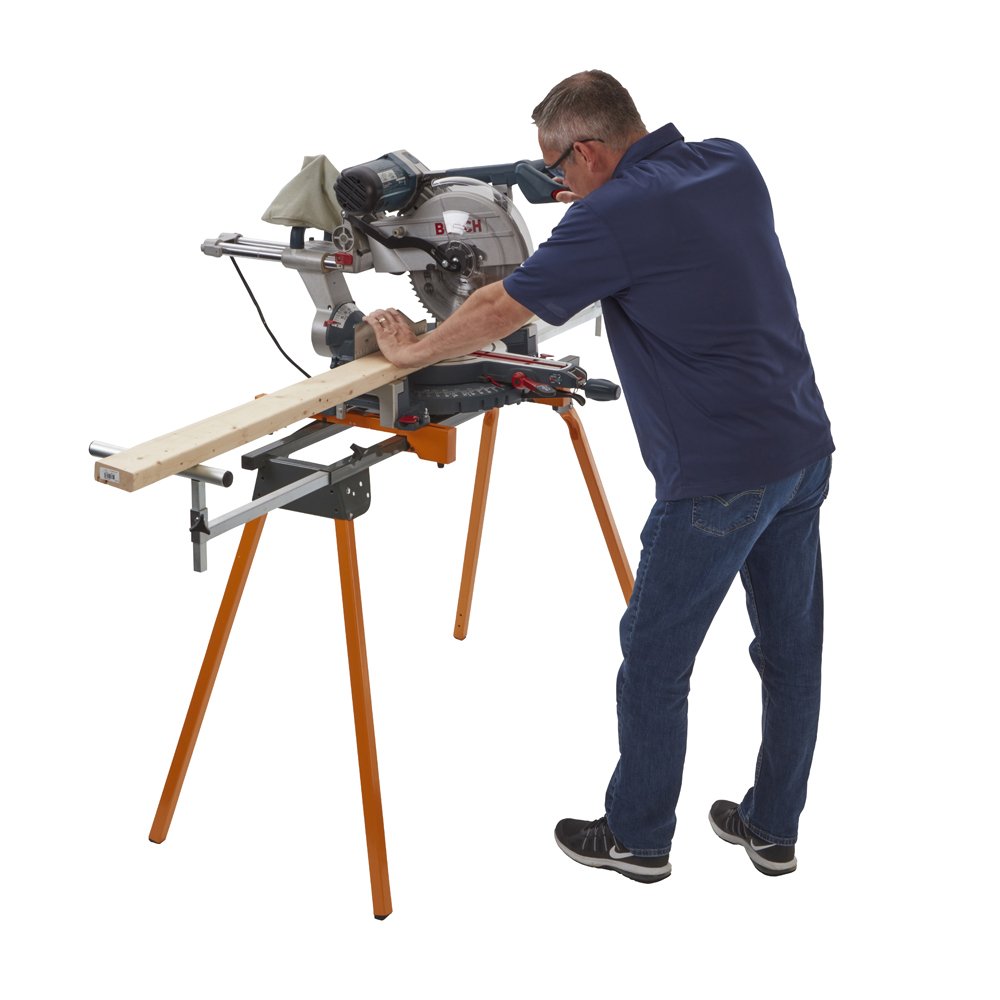
Buying a miter saw stand is a cost-intensive affair. This piece of wood can cost you heavily, especially when you are a DIY enthusiast. If you think that investing such a hefty amount is the second option after exploring your DIY skills, you land on the right page!
Constructing a miter saw table can solve your problem in two ways. First, it will save you good bucks as compared to a miter saw. Secondly, you can build a customize miter table that can be a perfect fit for your miter saw.
So, let’s begin your DIY journey with these simple steps which lead you to an economical and worthy miter saw stand:
Consider The Dimensions
Measure the dimension of your miter saw and mark all the required holes. Use the right bolt which fits the height of the saw stand. Measure the height and add 2½ inches to get the perfect bolt size. Cut down the pieces.
Cut down the perfect pieces of plywood. The right length for a miter saw stand is 15-5/8 inches wide t the bottom and 16-inches wide at the top. Don’t worry about the slight variation in the sizes. Cut one 15-5/8 inches chunk to be positioned as dividers. Position it on the saw stand to recheck the dimension. If it is placed straightedge, proceed to cut the other five chunks of similar size.
Time To Assemble
Once you get all the plywood pieces to be ripped as per dimension, position them to form the miter saw table. On the right of the miter saw tabletop, plan at a length of 22-inches. Now examine the bay of your miter saw. There should be enough width capable of clearing the moving saw parts between the dividers. Now place the middle dividers evenly on the left side.
Once positions, start screwing the dividers to the base using 2X4 runners. Excluding the top, measure the table’s final length and cut off the back pieces to make it a perfect fit.
Miter Saw Mounting
Place the miter saw at the center of the table and mark the position. Drill 1/8-inches deep holes using a drill bit equivalent to the diameter of the saw’s mounting holes. Drive the hanger bolts which can fit these mounting holes. Start tightening the two nuts positioned oppositely at the machine’s top to drive the bolt correctly.
Using wing nuts, lock the saw in place carefully.
Fencing
Using a straightedge, you can position the extension fence perfectly in alignment. For cutting identical parts, this fencing helps as a handy rail to stop block. But for a longboard that needs to be cut straight, this fencing prevents it from fitting the board tightly against the saw. Hence, this fencing is not meant for everyday cutting and is used occasionally.
You need two 1X4 pieces and four triangle braces equivalent to the top left side position along. Space the braces after screwing together 1X4s pieces. Screw fence to each divider after aligning it straightedge to the miter saw.
With this, you are ready to put your miter saw stand to use!


